Lab 1.3 - Create the Access Policy
In this section, edit the policy using the Visual Policy Editor to enable users to login via AD+MFA, then transition to CertSSO.
Task - Open Visual Policy Editor
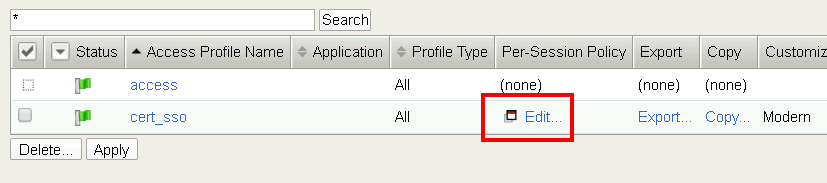
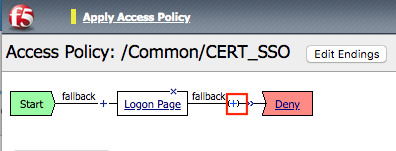
On the cert_sso profile line click edit under Per-Session Policy
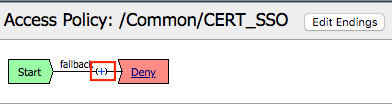
Click the + (plus symbol) located on the fallback branch located between the Start and Deny boxes
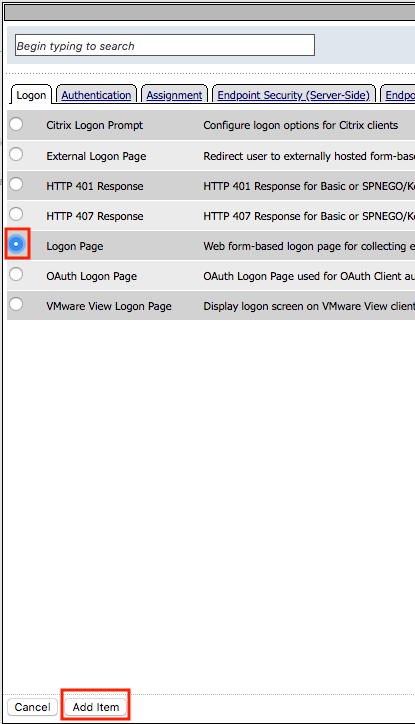
Click the Logon Tab
Select Logon Page
Click Add Item
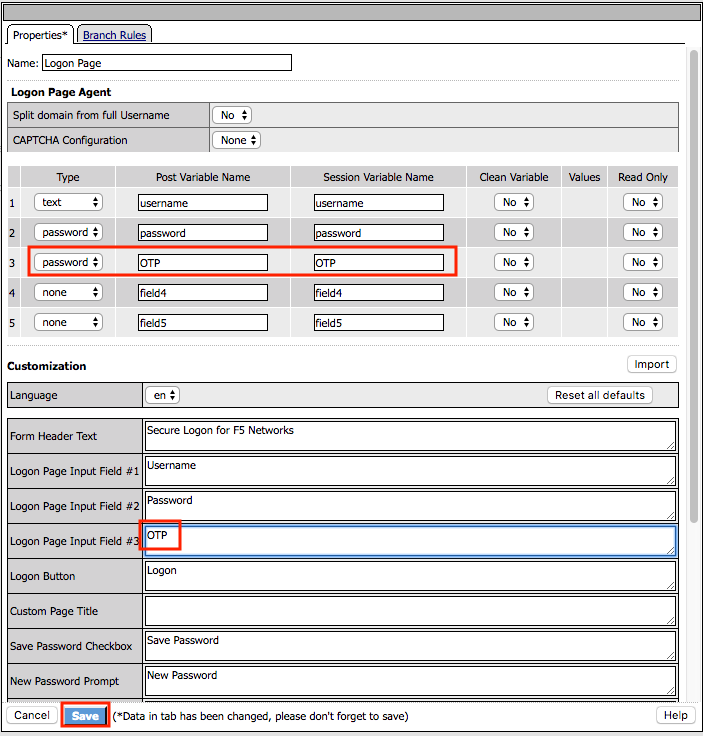
Add an additional field to the logon page by selecting password from the Type dropdown (line 3)
Enter OTP for Post Variable Name
Enter OTP for Session Variable Name
Enter OTP for Logon Page Input Field #3
Click Save
Click the + (plus symbol) located on the fallback branch located between the Logon Page and Deny boxes
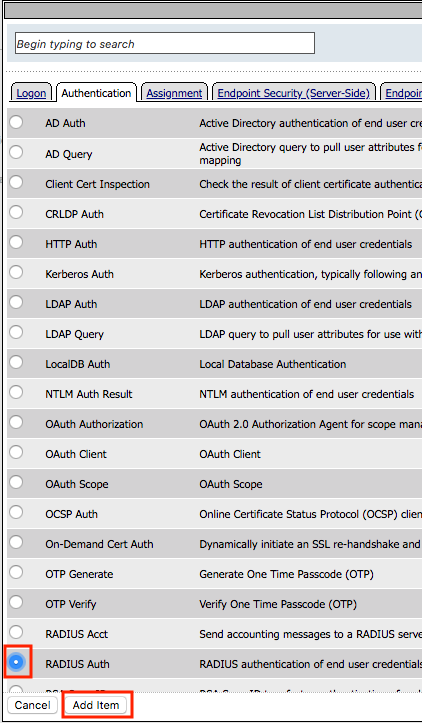
Click the Authentication tab
Select RADIUS Auth
Click Add Item
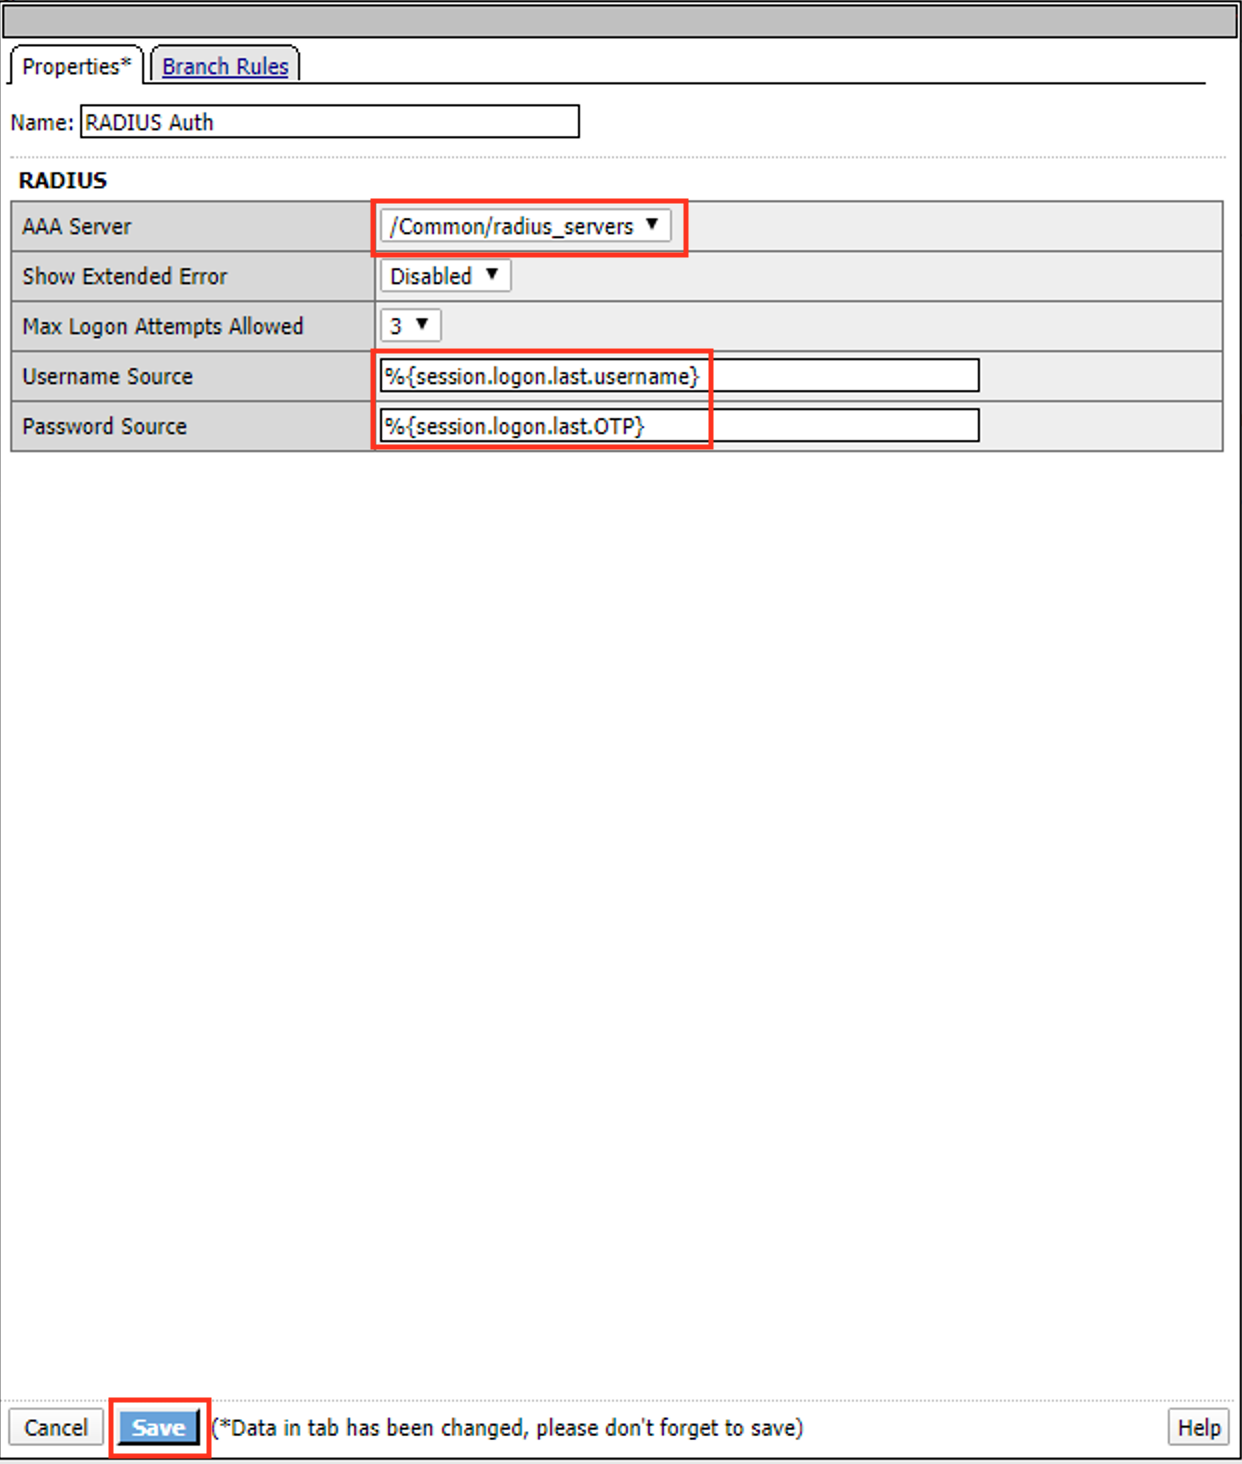
Select radius_servers from the AAA Server dropdown box
Change the password source to %{session.logon.last.OTP}
Click Save
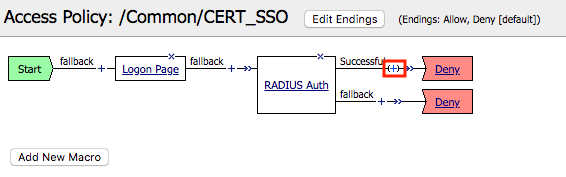
Click the + (plus symbol) located on the Successful branch located between RADIUS Auth and Deny boxes
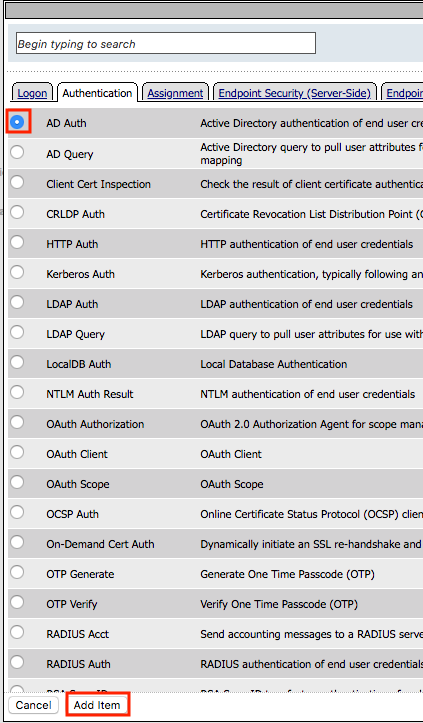
In the Authentication tab, select AD Auth
Click Add Item
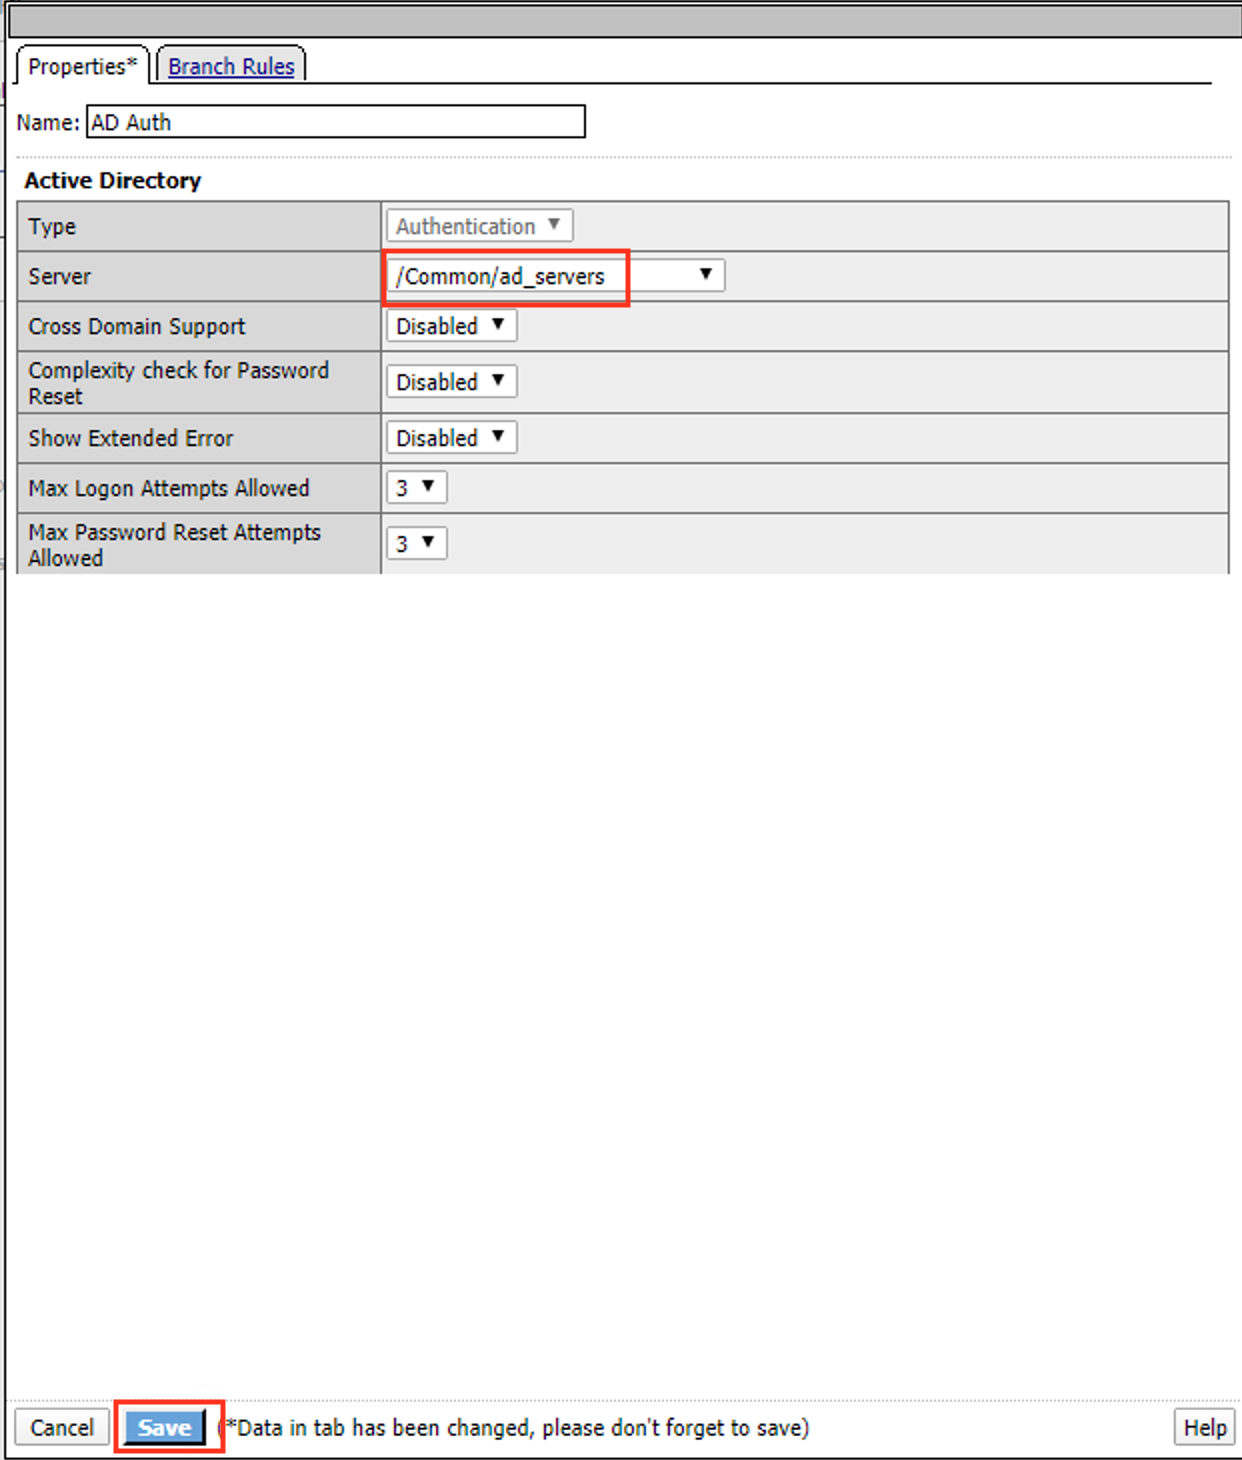
Select ad_servers from the Server dropdown box
Click Save
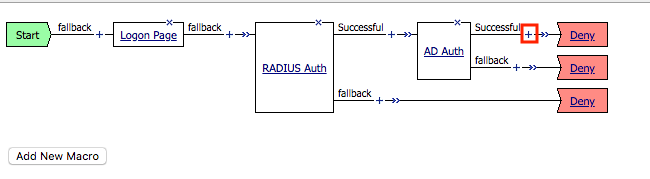
Click the + (plus symbol) located on the Successful branch located between AD Auth and Deny box
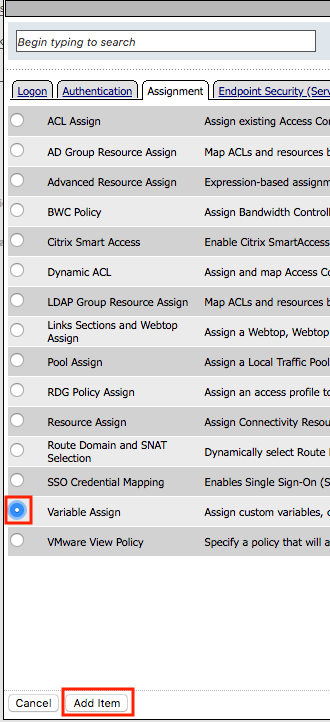
Click Add Item
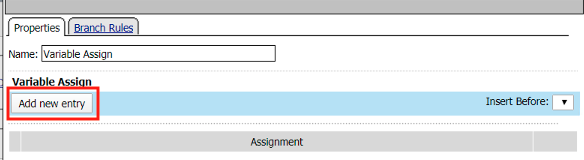
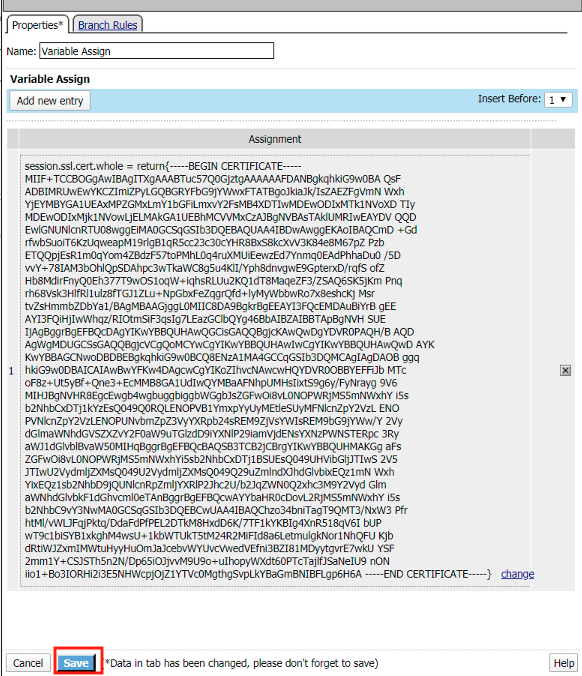
In the Assignment tab, select Variable Assign
Click Add Item
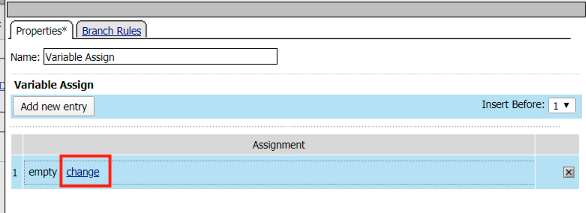
Click Add new entry
Click change
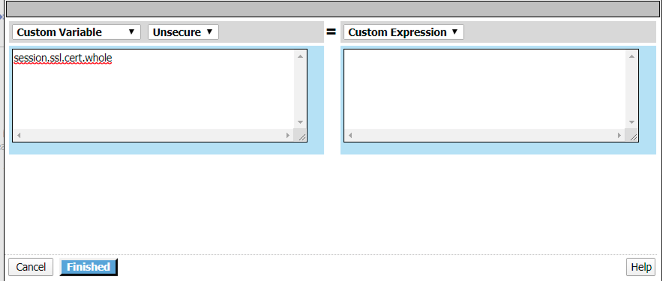
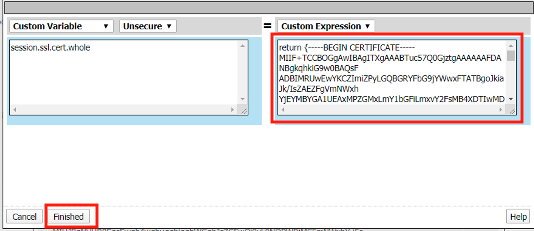
Enter session.ssl.cert.whole in the custom variable field
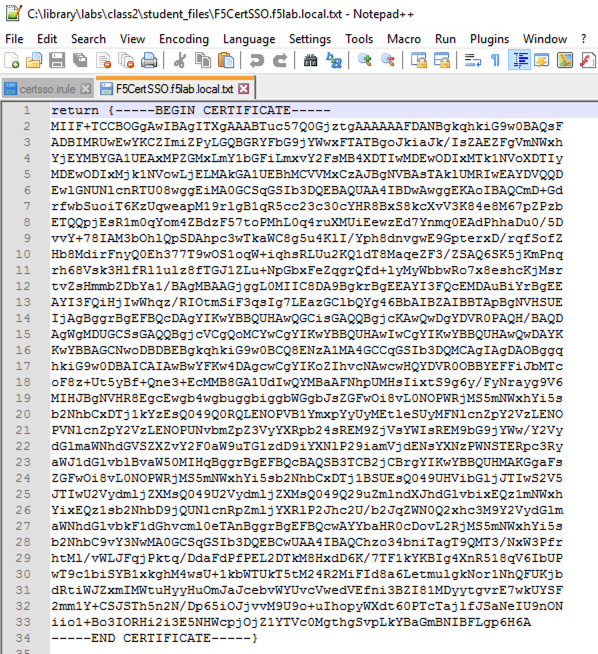
Locate the F5CertSSO.f5lab.local.txt file in the C:\labs\class2\student_files directory.
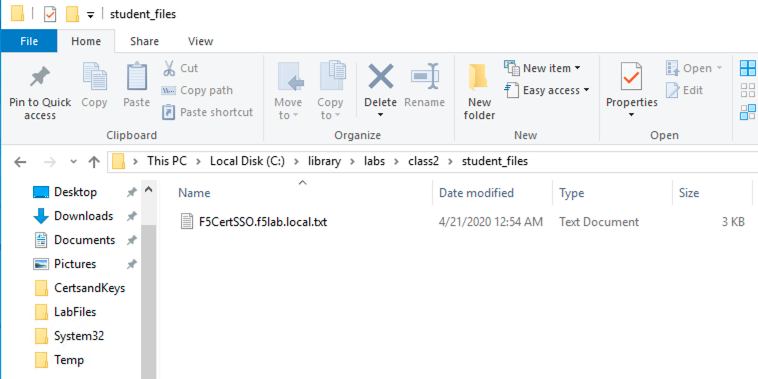
Open the file with notepad++ and copy the contents of the file
Return to the Visual Policy Editor and paste the certificate into the custom expression field
Click Finished
Click Save
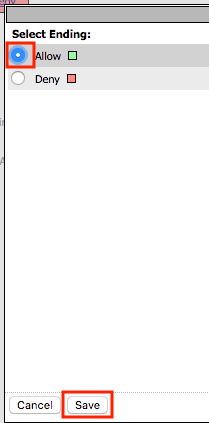
Click the Deny ending icon located on the fallback branch of the Variable Assign agent
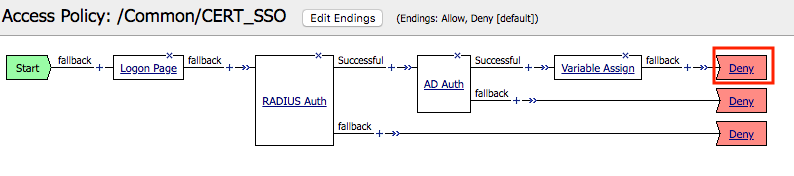
Click Allow
Click Save
Click Apply Access Policy located in the top left corner to commit the policy changes